Tabler
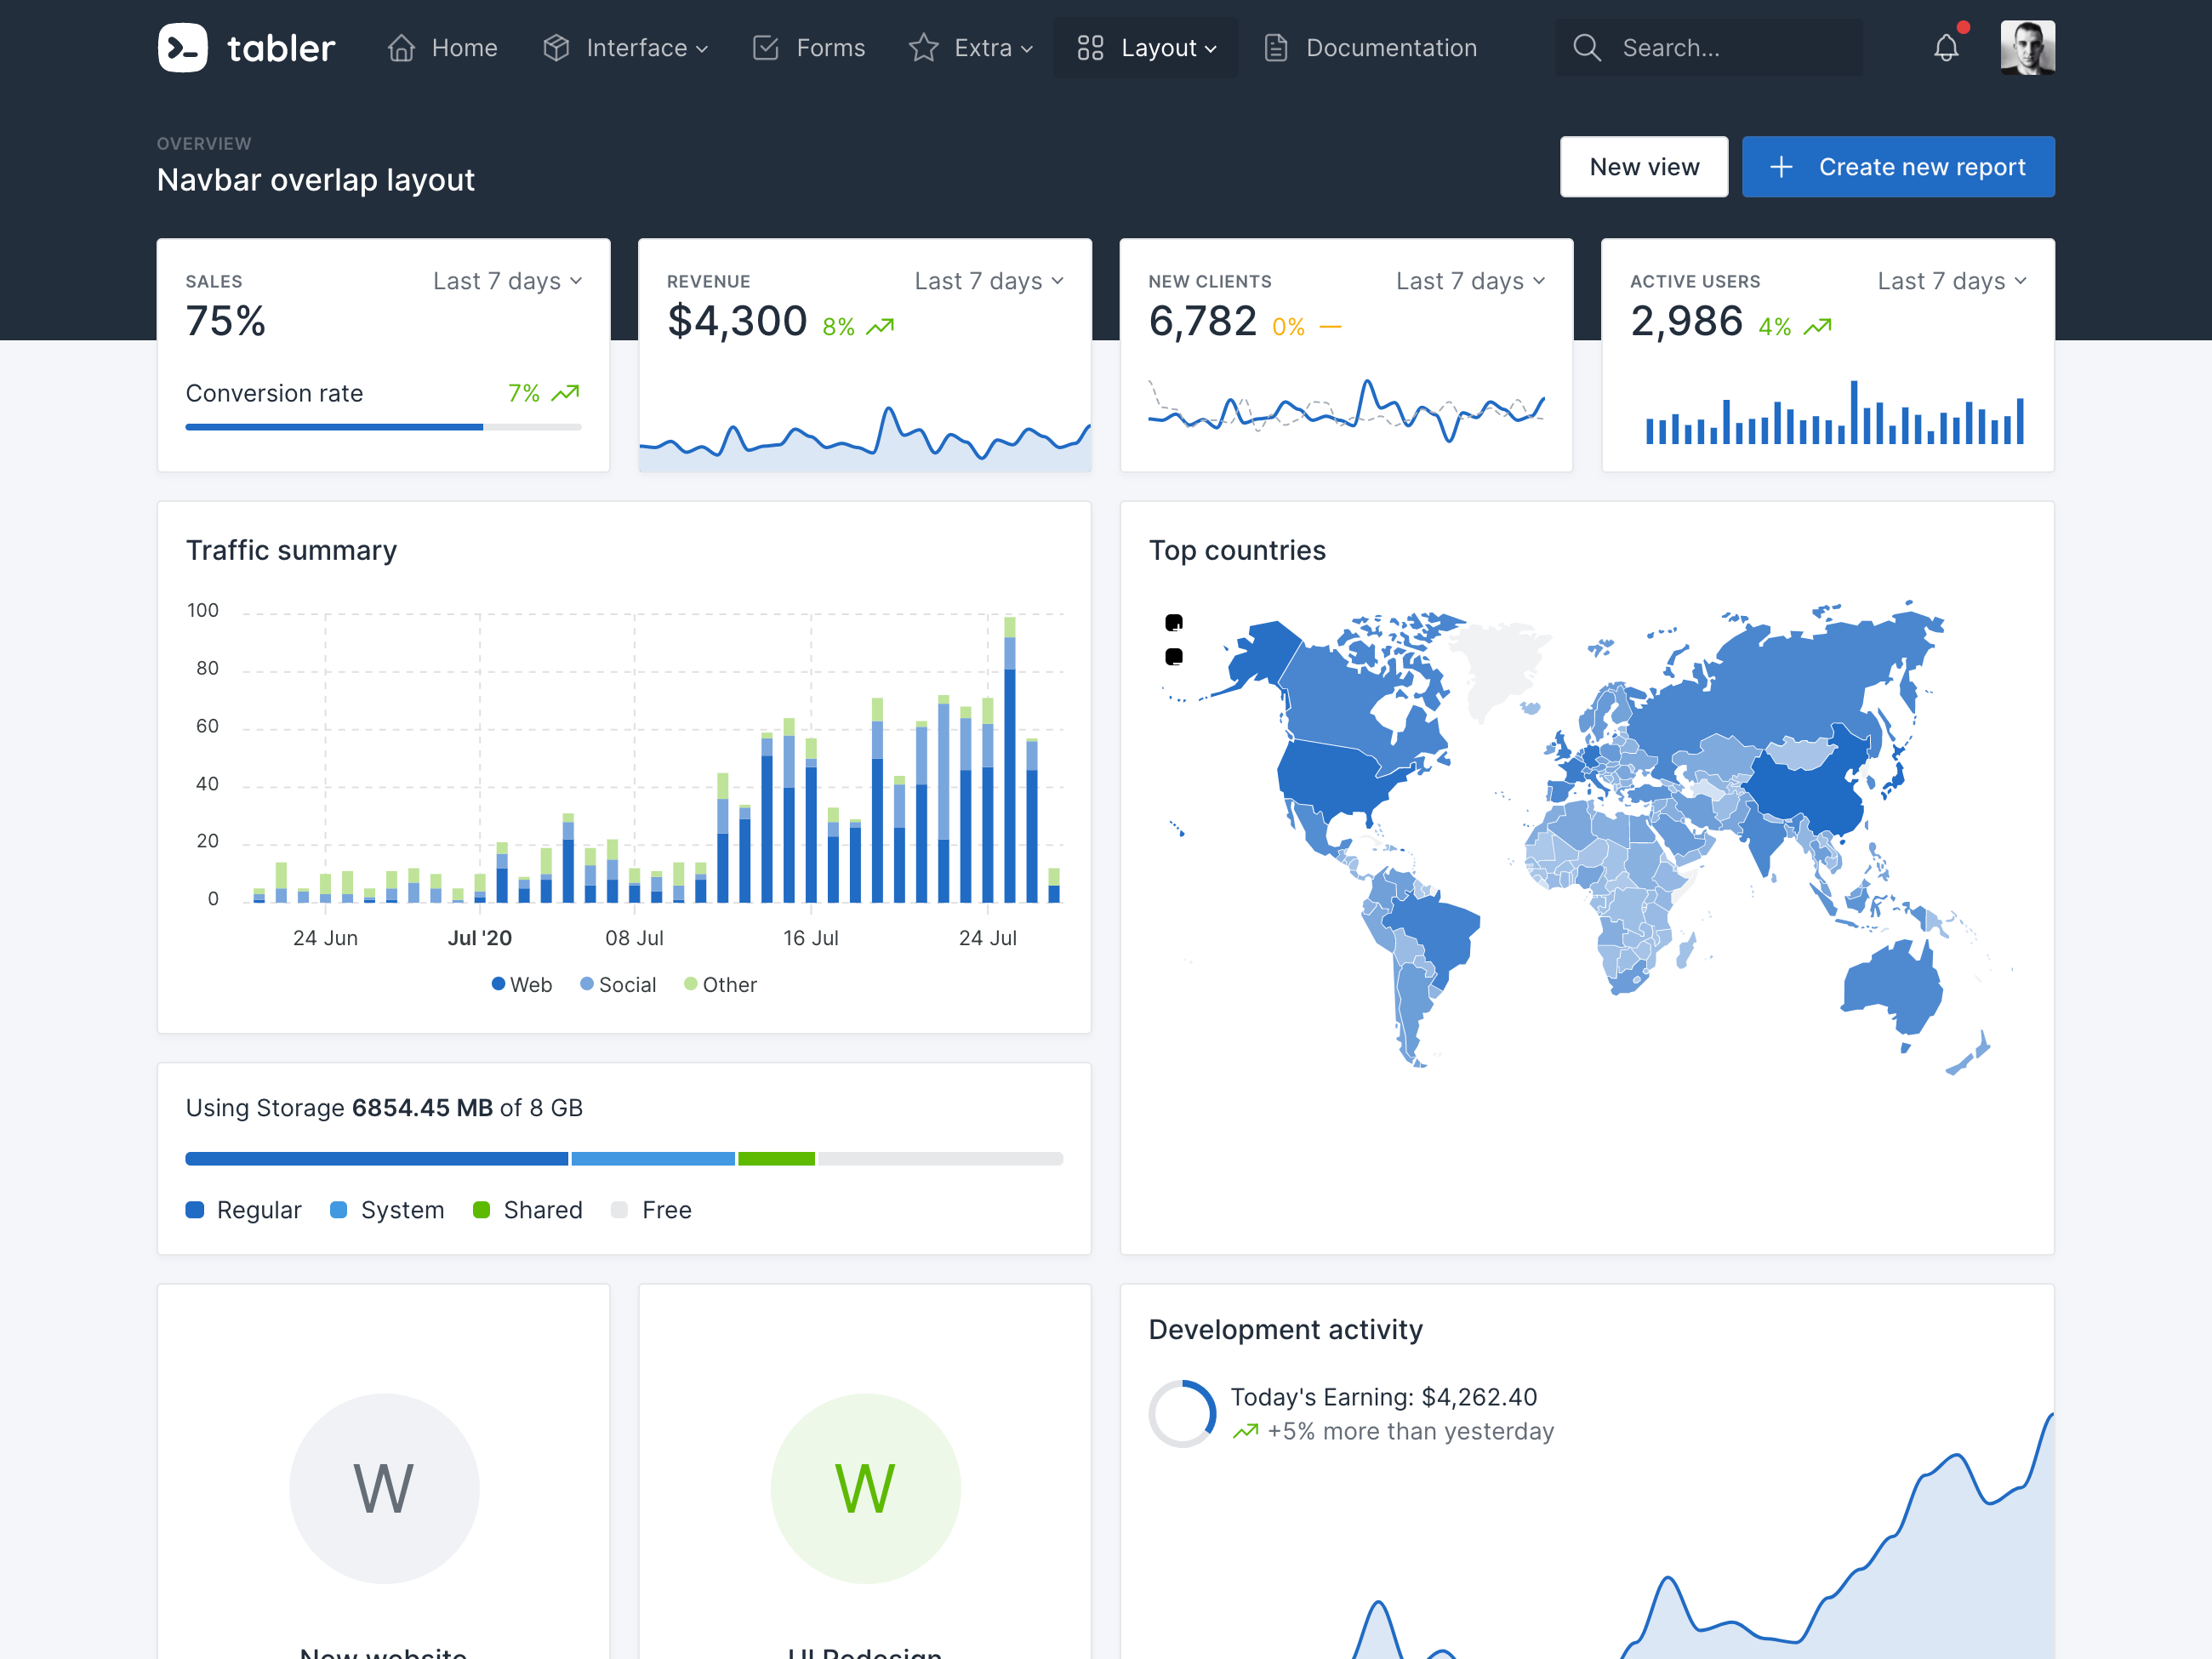
Tabler is free and open-source HTML Dashboard UI Kit built on Bootstrap
README
A premium and open source dashboard template with a responsive and high-quality UI.
🔎 Preview

🚀 Features
We've created this admin panel for everyone who wants to create templates based on our pre-made components. Our mission is to deliver a user-friendly, clear and easy administration panel that can be used by both simple websites and sophisticated systems. The only requirement is basic HTML and CSS (and some Liquid) knowledge — as a reward, you'll be able to manage and visualize different types of data in the easiest possible way!
Responsive: With the support for mobile, tablet and desktop displays, it doesn’t matter what device you’re using. Tabler is responsive in all major browsers.
Cross Browser: Our theme works perfectly with the latest Chrome, Firefox+, latest Safari, Opera, Edge and mobile browsers. We work hard to to provide continuous support for them.
HTML5 & CSS3: We use only modern web technologies, such as HTML5 and CSS3. Our theme includes some subtle CSS3 animations, which will help you attract attention.
Clean Code: We followed Bootstrap’s guidelines carefully to make your integration as easy as possible. All code is handwritten and W3C valid.
Demo pages: Tabler features over 20 individual pages using various components, which gives you the freedom to choose and combine. All components can vary in color and styling that you can easily modify using Sass. Sky is the limit!
Single Page Application versions: Tabler React has React components for Tabler.
📖 Documentation
Documentation is available as a part of Tabler preview: https://preview.tabler.io/docs/
🪴 Project Activity
💕 Sponsor Tabler

Sponsors
Support this project by becoming a sponsor. Your logo will show up in this README with a link to your website. Become a sponsor!
📦 Setup environment
To use our build system and run our documentation locally, you'll need a copy of Tabler's source files. Follow the steps below:
1. Install Node.js, which we use to manage our dependencies.
2. Navigate to the root /tabler directory and run npm install to install our local dependencies listed in package.json.
3. Install Ruby - the recommended version is 2.7.6.
4. Install Bundler withgem install bundler and finally run bundle install. It will install all Ruby dependencies, such as Jekyll and plugins.
OSX users:
1. NPM npm install
2. install Ruby (2.5.* recommended)
brew install ruby @2.5
3. install bundler
gem install bundler
4. install
bundle install
- if bundler get any errors try
- ```
- sudo rm -rf /Library/Developer/CommandLineTools
- sudo xcode-select --install
- ```
5. Run NPM
npm run start
Windows users:
1. Install Git inC:\Program Files\git\bin directory and run npm config set script-shell "C:\\Program Files\\git\\bin\\bash.exe" to change the default shell.
2. Install Ruby+Devkit - the recommended version is 2.7.6.
3. Read guide to get Jekyll up and running without problems.
Once you complete the setup, you'll be able to run the various commands provided from the command line.
Build locally
You need to have npm and bundler installed.
1. From the root /tabler directory, run installation in the command line:
- npm install
- bundler install
2. Then execute npm run start-plugins to start up the application stack.
3. Open http://localhost:3000 in your browser, and voilà.
4. Any change in the /src directory will build the application and refresh the page.
Note:
Run npm run build for reforms a one off build application without refresh.
Open http://localhost:3001 to configure the Web server.
Installation
Tabler is distributed via npm.
- ```sh
- npm install --save @tabler/core
- ```
Running with Docker
If you don't want to install node/npm/ruby and the dependencies on your local environment, you can use the provided Dockerfile to build a docker image.
This Dockerfile is provided as an example to spin-up a container running Tabler.
Example of how to use this image:
1. Build the tabler image : docker build -t tabler .
2. Run the tabler image while mounting the src directory as well as the _config.yml file into the container.
Don't forget to expose the port 3000 so you can browse the website locally.
You can also expose the port 3001 to have access to BrowserSync
- ```sh
- docker run -p 3000:3000 -p 3001:3001 -v $(pwd)/src:/app/src -v $(pwd)/_config.yml:/app/_config.yml tabler
- ```
Now open your browser to http://localhost:3000. Edit anything in thesrc/ folder and watch your browser refresh the page after it has been rebuilt.
CDN support
All files included in @tabler/core npm package are available over a CDN.
Javascript
- ``` html
- <script src="https://cdn.jsdelivr.net/npm/@tabler/core@latest/dist/js/tabler.min.js"></script>
- ```
Styles
- ``` html
- <link rel="stylesheet" href="https://cdn.jsdelivr.net/npm/@tabler/core@latest/dist/css/tabler.min.css">
- ```
Feature requests
https://tabler.canny.io/feature-requests
Bugs and feature requests
Found a bug or have a feature request? Please open a new issue.
🤓 Creators
Paweł Kuna
👨🚀 Contributors
This project exists thanks to all the people who contribute.
🌸 Backers
Thank you to all our backers! 🙏 Become a backer
❤️ Thanks
Thanks to Chromatic for providing the visual testing platform that helps us review UI changes and catch visual regressions.
License
See the LICENSE file.
 探客时代
探客时代


